how to install Sand and Carbon and Softener Filtration System
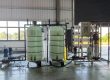
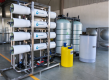
The most important principle is to install the systems in the correct sequence. Water should flow from the main supply through each unit in the following order:
Sand Filter: This is the first line of defense. It removes sand, silt, and other suspended solids that could clog or damage the equipment downstream.
Carbon Filter: Placed second, this filter removes chlorine, taste, odor, and certain chemicals. Critically, removing chlorine here protects the ion-exchange resin in the water softener from being damaged.
Water Softener: The softener is installed last in this train. It removes hardness minerals (calcium and magnesium) that cause scale. It should be placed after the carbon filter to prevent chlorine from oxidizing and damaging the resin beads.
Why This Order Matters: Installing the softener before the carbon filter would expose the resin to chlorine, shortening its life. Similarly, placing the carbon filter before the sediment filter would cause the carbon to clog prematurely with particulate matter.
🛠️ Step-by-Step Installation Guide
Here is a breakdown of the installation process for each component.
- Sand / Sediment Filter Installation
Preparation: Choose a location on a level, firm surface, such as a concrete slab. Ensure there is enough clearance above the tank for maintenance.
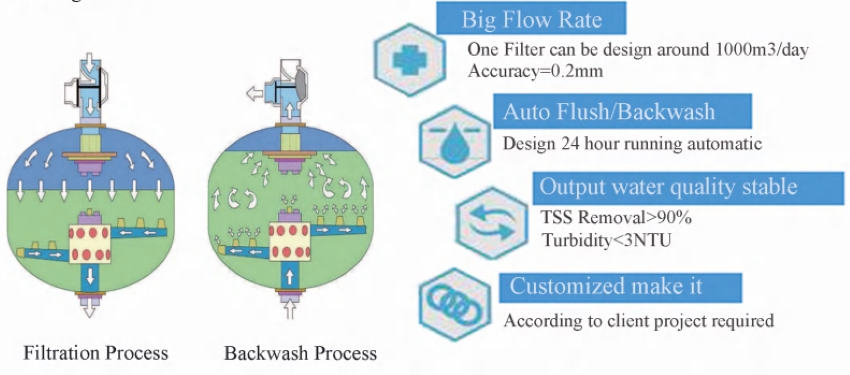
Internal Components: Install the bottom distributor (strainer) onto the riser pipe and ensure it is secure. Lower the assembly into the tank.
Media Loading: Pour the filter media (e.g., gravel, then sand) into the tank. Key Tip: Fill the tank with water before adding media to prevent air pockets and to cushion the fall of the media.
Valve & Piping: Install the top distributor and control valve. Connect the inlet and outlet pipes to the valve head, following the directional arrows. Install a bypass valve for easy maintenance.
- Activated Carbon Filter Installation
Location: Install the carbon filter after the sand filter. It requires a drain line for backwashing.
Media Loading: When loading the carbon media, it is highly recommended to wear a dust mask to avoid inhaling carbon fines.
Piping: Connect the inlet and outlet of the carbon tank to the plumbing line. Ensure all connections are secure and use a bypass valve as well.
- Water Softener Installation
Pre-Installation Checks: Confirm your incoming water pressure is within the manufacturer’s recommended range (typically 20-125 psi). The installation location must be level, dry, and close to a drain and an electrical outlet.
Plumbing Connections: Shut off the main water supply and drain the lines. Cut into the main water line and install a bypass valve and the softener. Connect the inlet and outlet ports (they are usually labeled). Ensure the softener is installed before the water heater.
Drain & Brine Lines: Connect the drain line to the control valve and route it to a suitable drain (e.g., a floor drain or standpipe). The drain line should not be elevated more than 8 feet above the floor. Connect the brine line from the control valve to the brine tank.
Brine Tank Setup: Fill the brine tank about half-full with water and add water softener salt.
Electrical: Plug the softener’s power cord into a continuously live electrical outlet.
🚀 System Commissioning
After all units are plumbed and loaded with media, you must commission the system.
Check for Leaks: Slowly turn on the main water supply. Open a nearby cold-water faucet to allow air to escape from the system. Carefully inspect all connections for leaks.
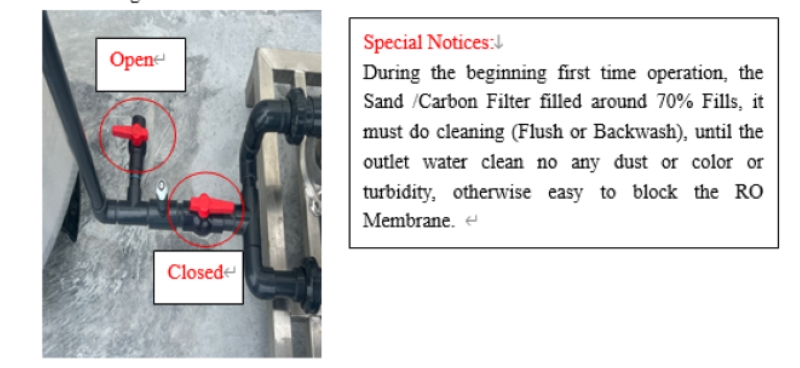
Initial Backwash & Rinse: For the sand and carbon filters, place their control valves in the “Backwash” position and run water to the drain until it runs clear (typically 5-10 minutes). Then switch to the “Fast Rinse” position for a few minutes to settle the media bed. For the first time cleaning very important, otherwise will be dirty the RO Membrane.
Program the Softener: Consult your softener’s manual to program the control valve. You will need to set the water hardness level (from your water test), the regeneration time, and other parameters specific to your unit.
Manual Regeneration: Initiate a manual regeneration cycle on the softener to draw brine into the resin tank and rinse it out. This prepares the resin for service.
Switch to Service: Once the rinse water from all units is clear, turn all control valves to the “Filter” or “Service” position. Your system is now operational.
💡 Key Cautions & Maintenance
Bypass Valves: Installing a bypass valve on each unit is essential. It allows you to isolate a unit for maintenance or do cleaning without shutting down your entire water supply.
Regular Maintenance: Schedule regular backwashing for the sand and carbon filters (typically weekly, depending on your water usage). Check and refill the softener’s brine tank with salt regularly.
By following this sequence and the detailed steps, you can ensure your filtration system works efficiently and has a long service life. If you have specific questions about your water test results or equipment model, feel free to ask Hinada Water Treatment Tech Co.,LTD